Peards AlburyLandscape Supplies
Artificial Turf DIY Installation
With some preparation, installing your own artificial grass isn’t difficult. Before starting your installation, make sure you have all the equipment required, as listed:
Specialty Tools Needed
- Adhesive tape
- Turf Adhesive if required
- 150mm flat head nails or landscape/turf pegs
- Turf rake
- Sand spreader
- Vibrating plate/Wacker Packer
- Boral Uni-Sand
Commonly Used Tools Needed
- Stanley knife
- Hammer
- Yard rake
- Shovel
- Wheelbarrow
- Tape measure
- Wide shop broom
Peards Albury Stock the accessories to get the job done!
1. Prepare the Area
Dig out your area by hand or by machine to allow for 50-100mm of cracker dust substrate, as well as the height of your artificial grass. The base should be around 15-20mm below the final desired finish height.
The base can be hand-packed or using a mecahnical vibrating plate/wacker packer.
2. Lay and Trim Grass
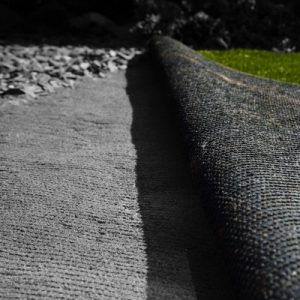
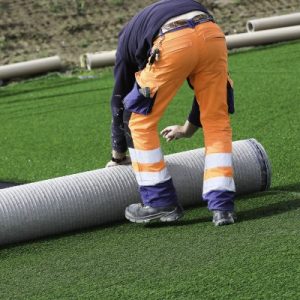
Cut your turf into pieces a little longer and wider than the area it needs to cover. Lay the pieces on the prepared base and overlap the edges. Make sure the stitches of your turf are all running in the same direction.
Remove the “salvage”, black strip from both sides of the grass. This cannot be used to join the grass.
3. Glue Seams
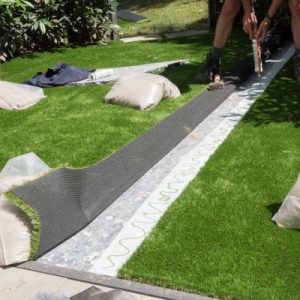
Join the rolls of grass together using joining tape and adhesive. Spread the adhesive with a trowel to ensure an even coating.
Once complete, pressure roll the seams to promote good adhesion.
4. Secure Your Grass in Place
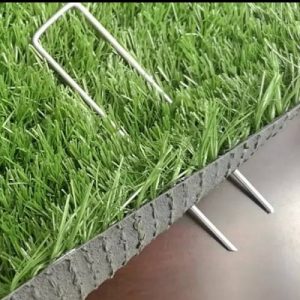
Once your turf is in position, secure the edges down with flat head nails or landscape/turf pegs at an interval of 300-500mm. Make sure you do not catch the grass blades underneath the pegs.
5. Finishing Touches
Distribute fine, washed silica infill sand evenly over the turf, to a depth of 15-20mm (or around 2-5kg of sand every square metre). Pay attention to joins and edges to ensure even coverage. Brush the grass with a stiff broom to bring the grass blades straight and upright for a perfect finish.
